
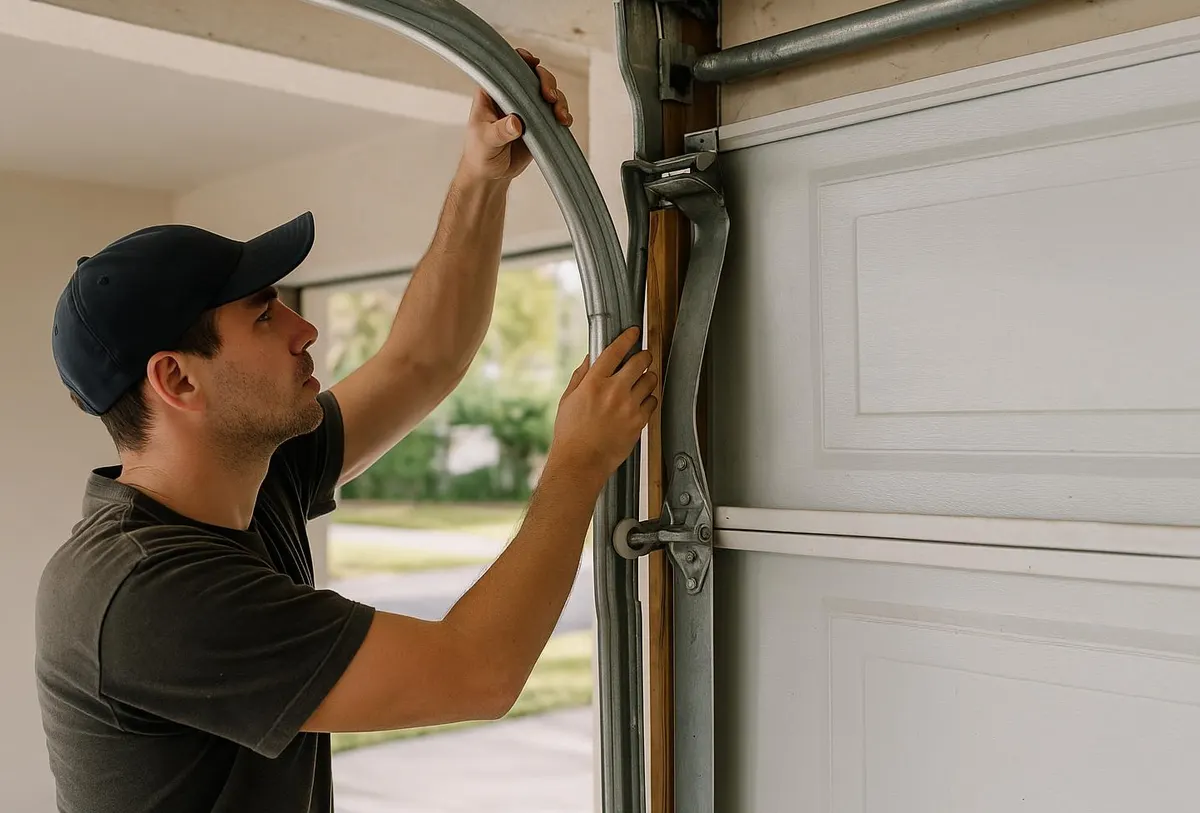
The Mistake Most Homeowners Make First
When the garage door won't budge, the first instinct is almost always to grab a new battery for the remote, or to buy a replacement remote altogether. It's tempting because it's cheap, it's a five-minute fix, and most of us have been trained by TV remotes and car fobs to assume dead batteries are the culprit. But here's the tell: if the wall button also does nothing — no click, no light, no hum from the motor — the remote was never the problem. You're looking at something upstream of both controls, and no amount of battery swapping will touch it.
This matters because a lot of time and money gets wasted chasing the remote before anyone checks the parts both controls actually depend on.
What You're Likely Seeing
- Pressing the remote or wall button does absolutely nothing — no light, no sound, no motor engagement.
- The opener's light flickers or turns on, but the motor never engages.
- You hear a faint hum or click, but the door doesn't move.
- The opener worked fine yesterday and now shows no sign of life at all.
Each of these points to a different stage in the system, which is why a technician works through them in a specific order rather than guessing.
Step 1: Power to the Unit
This is always checked first because it's the most common cause and the fastest to rule out. Garage door openers are notorious for being plugged into outlets that are rarely checked — and in this area, those outlets are often on GFCI circuits that trip easily after heavy rain or high humidity gets into the garage. A tripped breaker, a popped GFCI reset button, or a loose plug will leave the opener completely dead, with the remote and wall button both doing nothing.
The fix: Check the outlet for a tripped GFCI (there's usually a small reset button), check the breaker panel, and confirm the cord is fully seated. If the outlet tests fine but still won't hold power, the outlet itself may need replacing — especially if it's been exposed to garage moisture for years.
Step 2: Wall Button Wiring
If power is confirmed, the next stop is the low-voltage wiring that runs from the wall button to the opener unit. These wires are thin and often stapled loosely along the ceiling or wall, which makes them vulnerable to being pinched, nicked, or chewed. Moisture intrusion and the occasional rodent looking for shelter from the weather can both wear through this wiring over time, especially in garages built close to pine trees where sap and debris collect near entry points.
The fix: A technician traces the wire from the button to the opener, checking for breaks, corrosion at the connection points, or loose terminals. A damaged section gets spliced or the whole run gets replaced — it's inexpensive wire, but tracking down where it failed takes a trained eye.
Step 3: Safety Sensors
Modern openers won't engage at all if the safety sensors near the bottom of the track aren't communicating properly — this is a safety feature, not a malfunction, but it looks identical to a dead unit from the homeowner's side. Pollen season and heavy humidity are common culprits here: a film builds up on the sensor lenses, or condensation fogs them just enough to break the signal. Misalignment after someone bumps a sensor with a bike, ladder, or car bumper is just as common.
The fix: Wipe both lenses clean, confirm the indicator lights on each sensor are solid (not blinking), and realign them so they face each other directly. If the bracket has been bent, it needs to be reset to the correct height and angle.
Step 4: The Circuit Board
If power is good, the wall button wiring is intact, and the sensors are aligned, the issue is likely inside the opener itself — specifically the circuit board that receives signals from both the remote and the wall button. Power surges from storms are a common cause of board failure, and this region sees its share of them, from summer thunderstorms to the occasional ice storm that knocks out power unevenly across a block.
The fix: The board is tested for responsiveness to both input signals. If it's fried, it's typically more cost-effective to replace the whole opener unit rather than source a specific board, especially on older models.
Step 5: The Motor
Last on the list, because it's the least common cause when both controls fail simultaneously, is a burnt-out motor. If everything upstream checks out and the unit still won't engage, the motor itself has likely failed — often after years of strain from humidity-swollen door panels or tracks that were never properly lubricated.
The fix: At this point, replacement is usually the practical choice rather than a motor rebuild.
When to Call Decatur Garage Door Service
If you've checked the breaker and outlet and the opener still won't respond to either control, it's time to call in a technician rather than keep guessing. Decatur Garage Door Service handles Garage Door Opener Repair & Installation for exactly this kind of troubleshooting — working through the power source, wiring, sensors, and board in order, so you're not paying to replace parts that were never the problem. A seasonal Garage Door Maintenance visit can also catch sensor buildup and wiring wear before they leave you stuck outside your own garage.
If your opener in Decatur, GA has gone silent, give us a call — we'll find the real cause and get your door moving again.